


John, an avid DIY enthusiast, decided to install rubber roofing for his backyard shed. He needed to plan and execute carefully for a durable, watertight result.
Preparing the surface was key. This included cleaning and removing debris. A primer might be needed too. Then, he unrolled the membrane, overlapping at the edges. Secure it with adhesive or tape. Sealing the seams and edges with primer, tape or liquid rubber sealant was essential. But, guidelines from the chosen product needed to be consulted.
Despite challenges, John persevered and completed the project. We can be confident and learn through hands-on experiences too!
What is rubber roofing?
Rubber roofing, known as EPDM, is a durable and adaptable material used in both residential and commercial buildings. It consists of big sheets made from synthetic rubber laid down and secured.
Its remarkable flexibility makes rubber roofing great for any roof shape or size, and it provides excellent protection from heavy rain, winds, and extreme temperatures. It’s also long-lasting, with membranes lasting up to 50 years when installed and maintained properly. This makes it a cost-effective option.
Installing rubber roofing needs some special tools and knowledge.
- Step-by-step instructions are available
, so follow them carefully. Gather all materials before starting, and double-check measurements. Take your time to get it right.
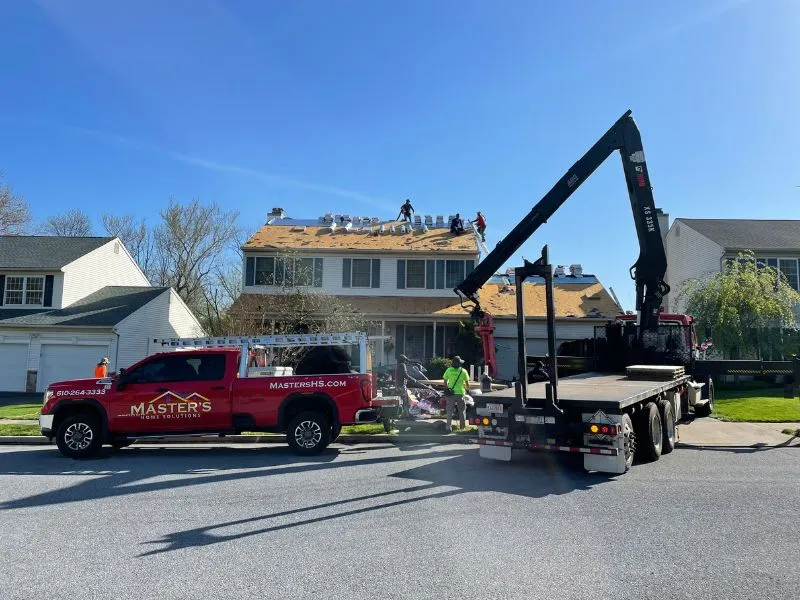
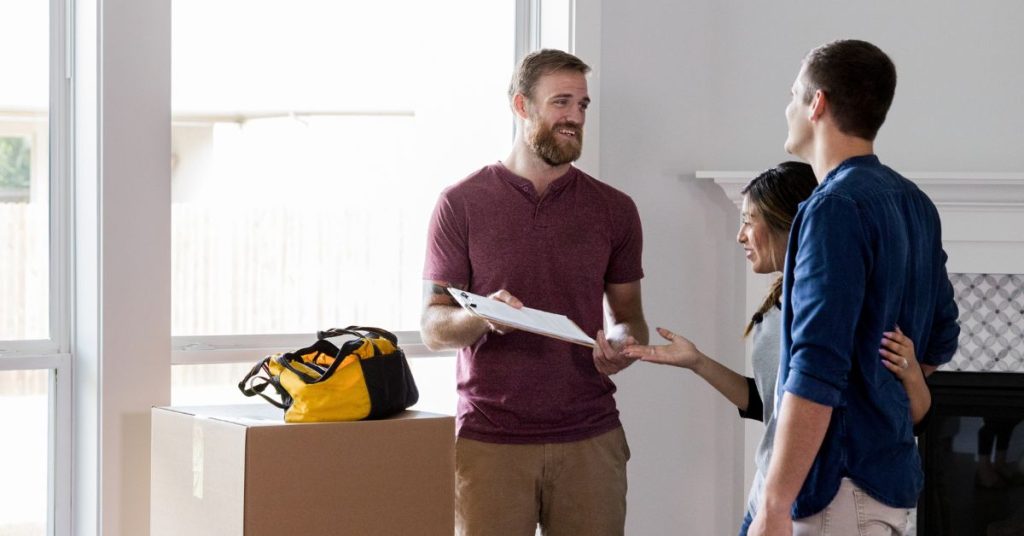
DIY installation may be overwhelming or too time-consuming, so consider hiring roofers who specialize in rubber roofing. They have the experience and skills to handle any challenges.
Don’t miss out on the benefits of rubber roofing! Get it professionally installed or do it yourself, and take advantage of this durable and long-lasting option. Protect your investment with high-quality rubber roofing that will last.
Benefits of rubber roofing
Rubber roofing offers lots of benefits, making it a great choice for residential and commercial buildings. It lasts up to 50 years, is waterproof, and resistant to extreme weather like hail, wind, and UV rays. Plus, it’s flexible, so it can be installed on various shapes and sizes. Plus, it’s eco-friendly, with recycled materials.
Moreover, rubber roofs have great insulation, meaning they keep buildings cool in summer and retain heat in winter. They’re low maintenance, needing minimal repairs or replacements. And, they reduce noise from rain or other external sources.
The use of rubber roofing began in the mid-19th century due to its strength and natural element resistance. Initially used for industrial roofs, it became popular for residential use due to its long life and cost-effectiveness.
All in all, rubber roofing is a great option for both residential and commercial use. Its longevity, waterproofing, extreme weather resistance, flexibility, eco-friendliness, insulation, low maintenance, and noise reduction make it an appealing choice.
Materials and tools needed for installing rubber roofing
Installing rubber roofing? You’ll need the right materials and tools! Here are the essentials:
- Membrane: This is the main component for the process. It provides waterproofing and protects against the elements.
- Adhesive: A high-quality adhesive is necessary to secure the membrane. It ensures a strong bond.
- Sealant: To provide additional waterproofing and prevent leaks, use a reliable sealant around edges and seams.
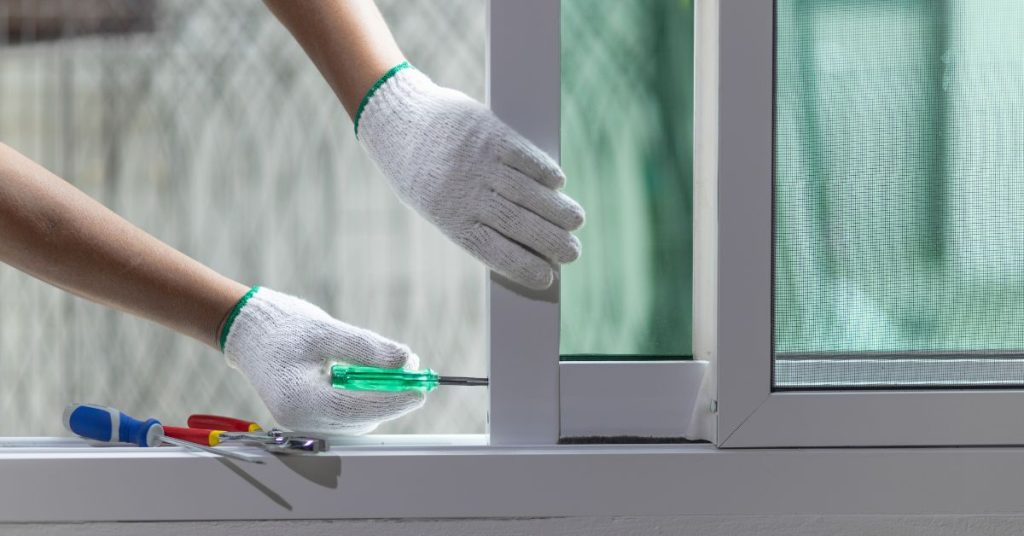
- Cutting tools: Sharp utility knives or scissors are needed to trim the membrane around obstacles.
Remember the other aspects too! Proper insulation and ventilation are essential for your rubber roof’s longevity.
Plus, rubber roofing is eco-friendly and energy-efficient. According to Sustainable Build, it can reduce energy consumption by insulating your home.
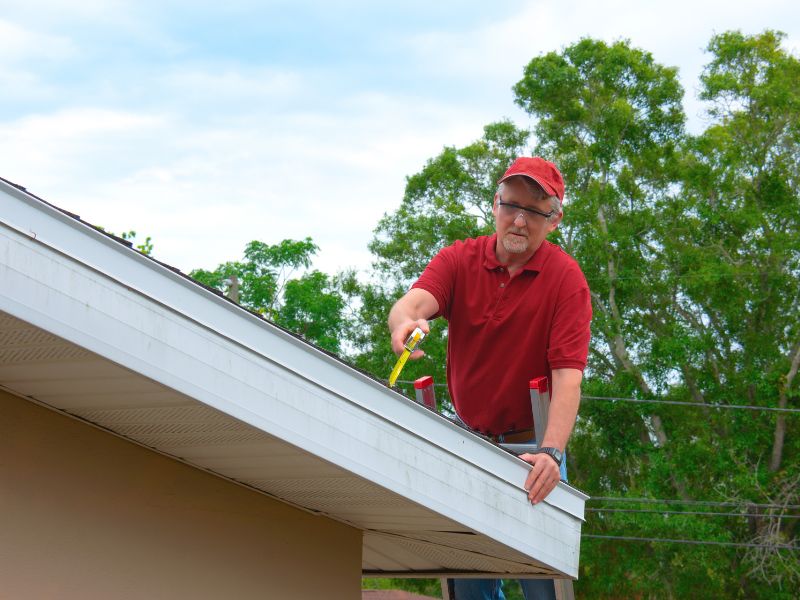
Preparing the roof for installation
- Begin by cleaning the roof surface. Remove any dirt, debris, or loose materials using a broom or pressure washer. It’s vital to have a clean base for correct installation.
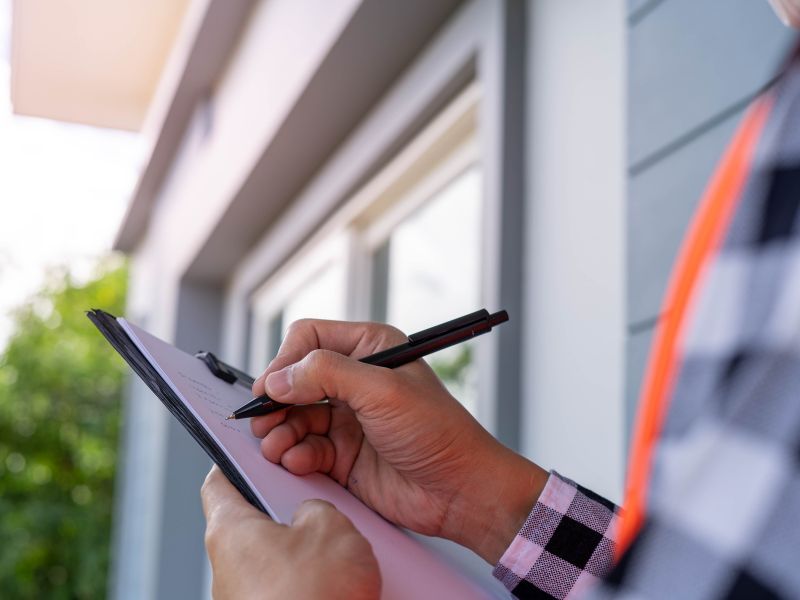
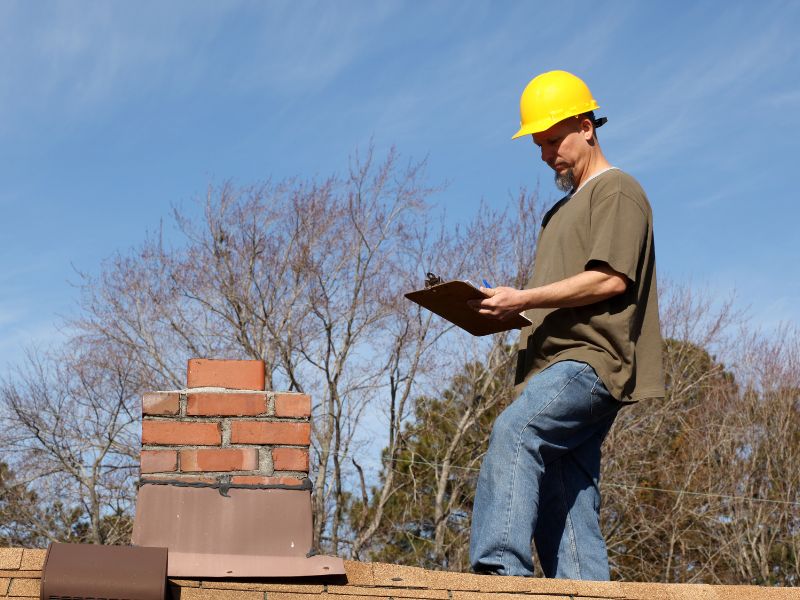
- Inspect the roof for signs of damage or leaks. Check for cracks, holes, or areas where the roofing material may need repair. Fixing issues beforehand will prevent future problems and increase durability.
- Apply a primer to enhance adhesion between the rubber roofing and the underlying surface. This promotes better bonding and increases resistance against weather elements.
Let’s now explore unique details about preparing a roof for rubber roofing installation.
Not all roofs are suitable for rubber roofing. Things like slope, age of the existing roof, and structural integrity are important in deciding if rubber roofing is feasible.
A story of the importance of preparing the roof before installing rubber roofing involved an incident where improper preparation led to water leakage during heavy rainfall. This caused significant damage to the property and shows the significance of thorough preparation.
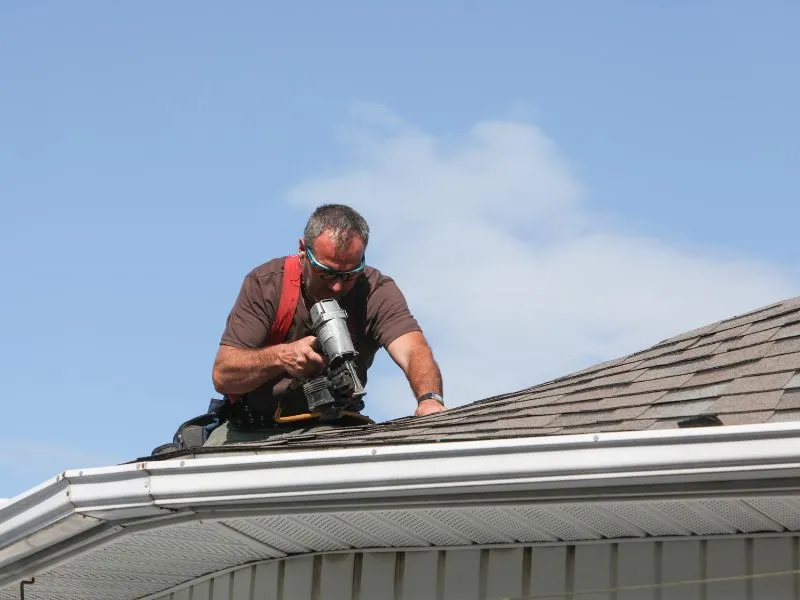
Installing the rubber roofing
Installing rubber roofing is no walk in the park. To guarantee success, consider these 6 steps:
- Ready the rooftop: Check it properly for any debris, loose materials, or damage. Resolve those issues before continuing.
- Measure and cut: Measure the roof and use the measurements to cut the rubber membrane. Give it an extra 6 inches for sealing.
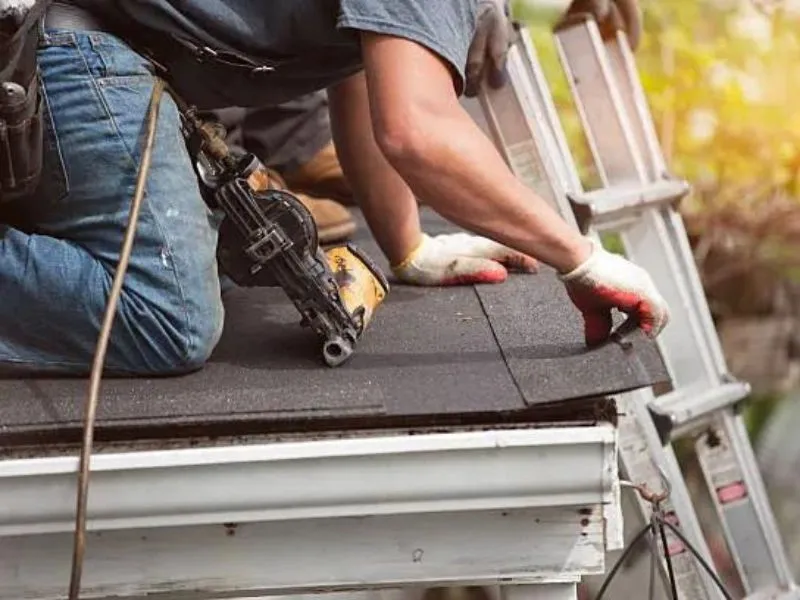
- Apply adhesive: Use a brush or roller and apply adhesive to the roof. Stick to the manufacturer’s instructions.
- Put the membrane in place: Position the membrane on the adhesive, pressing out any air bubbles.
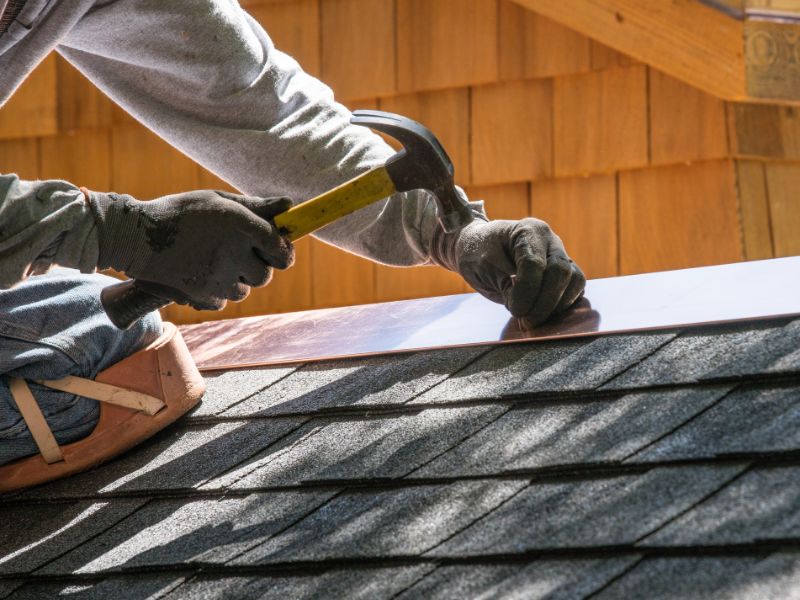
- Seal the edges: Fold back the edges and use adhesive around the perimeter. Make sure it’s watertight.
- Flash it up: Add flashing to protrusions or edges, using screws or adhesives as instructed.
Maintenance is equally essential. Regular inspections, cleaning, and addressing issues promptly will help maintain its durability.
This story serves as a warning: A homeowner did DIY installation, which led to leaks during heavy rain. This disaster could have been avoided with a professional roofer who knows how to install rubber roofing systems.
Installing rubber roofing requires accuracy and attention to detail. By following these steps and consulting a professional when needed, you can ensure a successful installation that safeguards your home.
Finishing touches and maintenance
Rubber roofing has been around for decades, and its durability and weather resistance have made it a popular choice. It all started in the early 20th century, when it was first developed for industrial uses. Nowadays, rubber roofing is used in residential and commercial properties. With new technology, it’s constantly evolving and improving.
To keep your rubber roof in top condition, there are a few steps you can take:
- Clean it regularly. Remove any debris, dirt, or leaves. Use a soft brush and mild detergent solution to scrub away any stubborn stains.
- Inspect for cracks, punctures, or loose seams. If you notice any issues, repair them quickly.
- Take preventative measures like avoiding walking on the roof in extreme temperatures and trimming overhanging branches.
- Apply a protective coating or sealant offering UV resistance.
- Get a professional roofing contractor for regular inspections and maintenance.
- Follow the manufacturer’s guidelines for your particular brand of rubber roof.
With these tips, you can ensure the longevity of your rubber roof and enjoy its benefits for years to come.
Conclusion
Attention to detail and proper technique are musts for rubber roofing installation.
- Gather the materials and tools needed.
- Clean the roof surface, make any repairs, and align/measure the roof correctly.
- Apply adhesive to the roof and back of the rubber roofing material.
- Place and press the rubber without bubbles or wrinkles. Use a roller/broom to smooth out any imperfections.
- Seam primer and tape should be applied for a watertight seal between overlapping pieces.
- Use a roller to firmly press down on the seams.
- A protective coating may be added to the roofing material for extra protection from UV rays, weather, etc.
- Follow instructions for a successful installation.
Frequently Asked Questions
Q: What is rubber roofing?
A: Rubber roofing, also known as EPDM roofing, is a type of roofing material made from synthetic rubber. It is durable, flexible, and resistant to weathering, making it an excellent choice for residential and commercial buildings.
Q: How do I prepare the roof for rubber roofing installation?
A: First, clean the roof surface thoroughly to remove any dirt, debris, or existing roofing materials. Repair any damage or leaks before installing rubber roofing. Ensure that the roof is dry and free from moisture.
Q: Can I install rubber roofing on my own?
A: Yes, rubber roofing can be installed by homeowners who have some DIY experience. However, it is advisable to hire a professional roofing contractor for a flawless installation to ensure maximum performance and longevity.
Q: What tools do I need to install rubber roofing?
A: The basic tools required for rubber roofing installation include a utility knife, adhesive or bonding adhesive, roller, measuring tape, and a roofing roller. It is essential to use the right tools for precise and secure installation.
Q: How long does rubber roofing last?
A: Rubber roofing has an average lifespan of 25 to 30 years. However, with proper maintenance and regular inspections, it can last even longer. Its durability and resistance to UV rays, extreme temperatures, and impact contribute to its longevity.
Q: Can rubber roofing be installed over an existing roof?
A: Yes, rubber roofing can be installed over an existing roof, provided that the existing roof is in good condition and properly prepared. It is crucial to consult with a roofing professional to assess the condition of the existing roof before proceeding with the installation.