


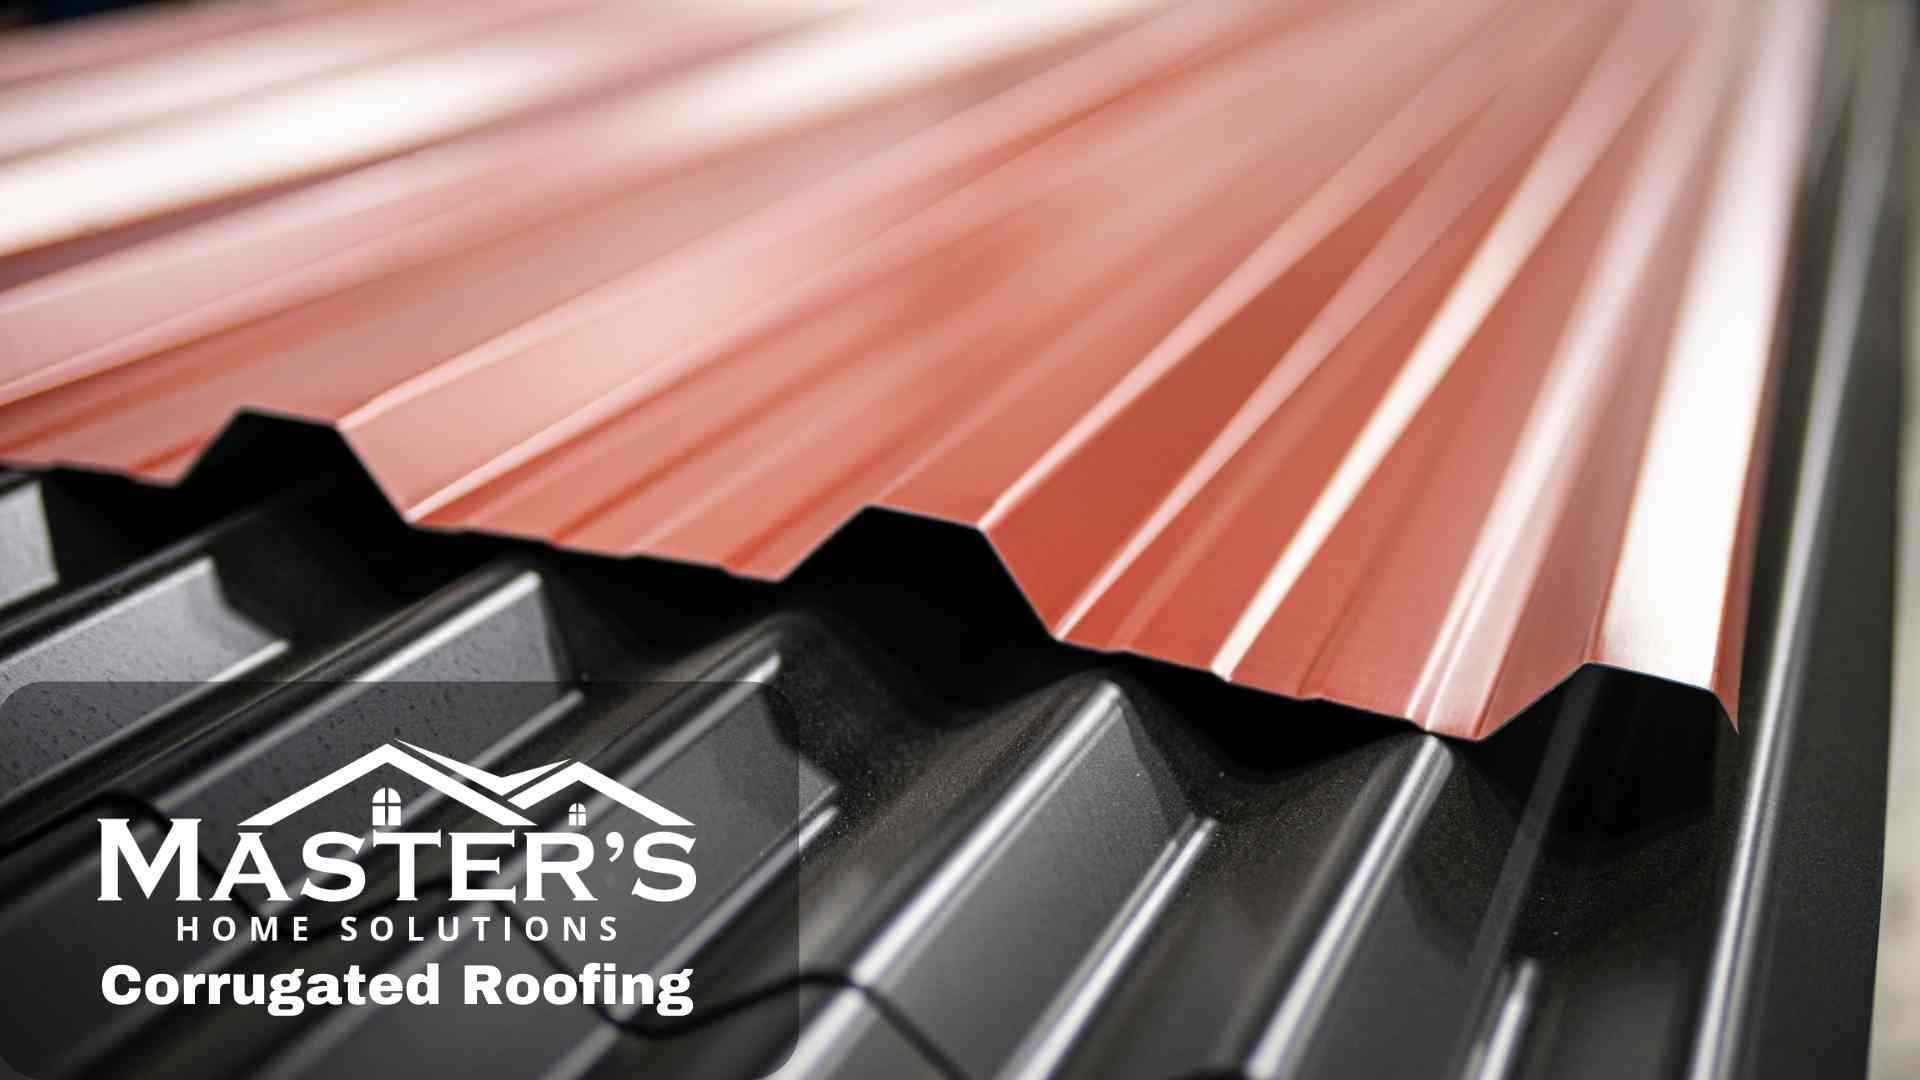
Corrugated roofing is a great option for homeowners. It’s durable and attractive. Installing it may seem intimidating, but with the right tools and knowledge, it’s quite simple. Here’s how to do it.
- Gather the materials and tools needed, like corrugated sheets, screws or nails, a power drill, a measuring tape, safety goggles, gloves, and a ladder. Have everything ready before you start.
- Prepare the roof surface by getting rid of old or damaged materials, and cleaning it. Make sure it’s smooth and free from dirt.
- Measure and cut the sheets as needed. Use a measuring tape and marker to mark where each sheet will go. Cut them with a power saw or tin snips.
- Attach one end of a corrugated sheet to one side of the roof with screws or nails. Secure it, but don’t overdo it. Overlap each sheet until you reach the other side. Align them properly and make sure they fit flush.
- Secure them with screws or nails at regular intervals. Follow the manufacturer’s guidelines regarding the spacing between them to make sure the roof structure is sound.
- Apply a sealant along the seams and edges for extra weather protection and durability.
Materials Needed
To install corrugated roofing, you’ll need several materials. These items will help make the process smoother and more secure.
| 1. Corrugated panels: | Choose panels made of metal or fiberglass, depending on your needs and budget. |
| 2. Roofing screws: | Get screws designed especially for corrugated roofing. They have a weather-resistant coating and neoprene washers to avoid leaks. |
| 3. Sealant: | Put sealant along the edges of each panel for a watertight seal. This will stop water getting in and guard against future leaks. |
| 4. Roofing felt: | Place felt underlayment on the roof deck before adding corrugated panels. This will give extra moisture protection and help with insulation. |
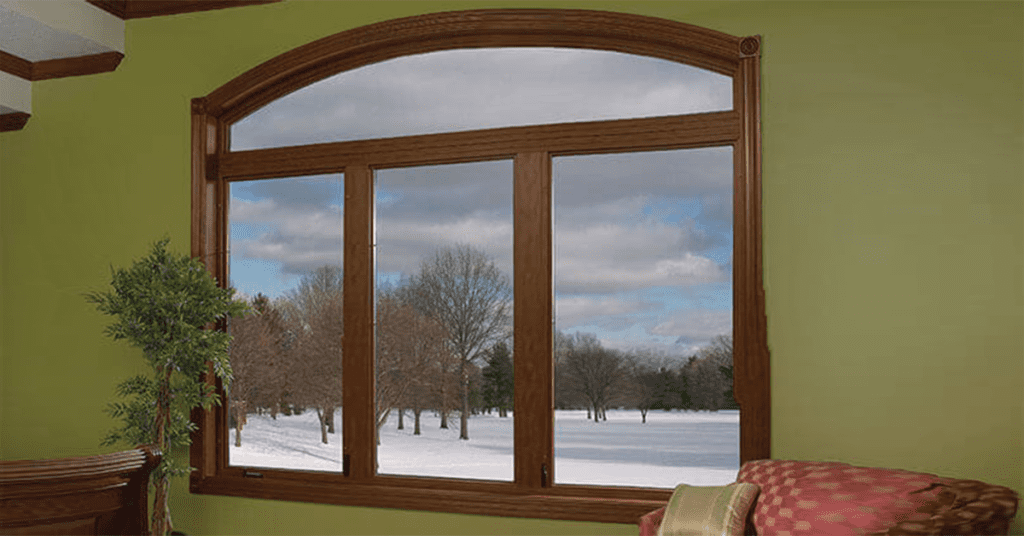
| 5. Flashing: | Fit flashing around chimneys, vents, skylights, etc. to stop water seeping in. Make sure it’s properly installed and secured. |
| 6. Safety gear: | Wear gloves, goggles, and non-slip footwear. Use safety harnesses or scaffolding if working at a height. |
Before installation, get rid of any debris and check ventilation. Having the right materials and taking precautions will help you install corrugated roofing successfully.
Follow manufacturer instructions for material usage and installation methods that fit your corrugated roofing system.
Pre-Installation Preparation
To ensure a smooth installation process for corrugated roofing, start your preparations in the pre-installation phase. Check the roof for any damage and carefully measure and calculate the required quantity of roofing sheets. These sub-sections will guide you through the necessary steps for a successful roofing project.
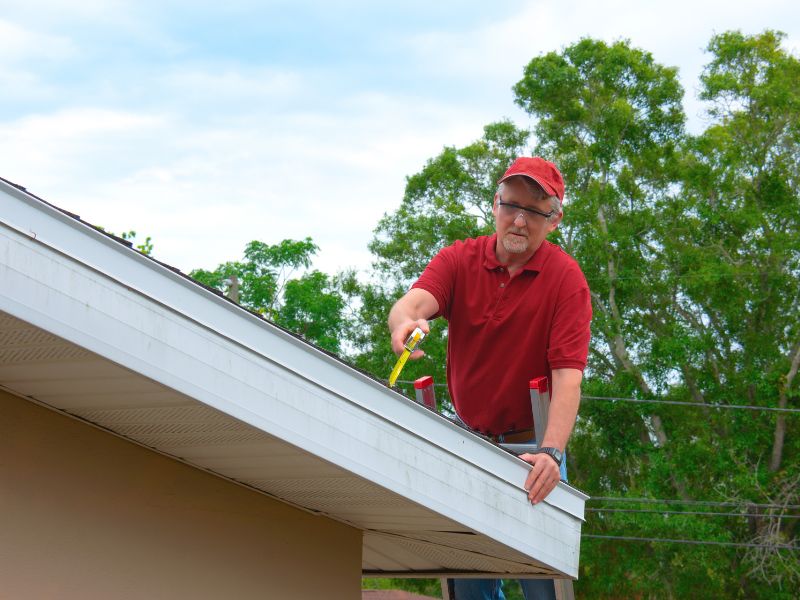
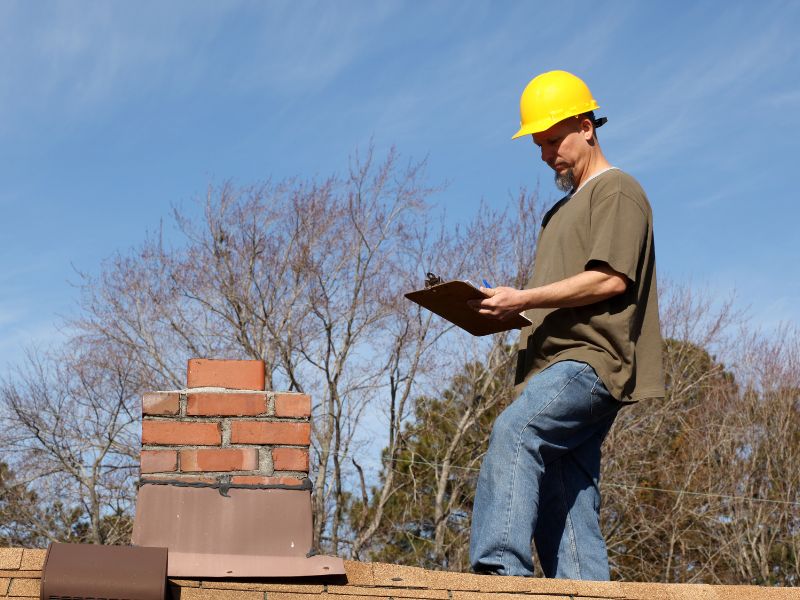
Checking the Roof for Any Damage
To check your roof for damage, these 3 steps should be taken:
- Visual Inspection:
- Look for missing or damaged shingles or tiles.
- Examine flashing around chimneys, vents, and skylights for signs of wear or deterioration.
- Check for bulges or sagging areas that may indicate structural problems.
- Inspect gutters and downspouts for debris buildup or damage.
- Interior Examination:
- Carefully inspect ceilings and walls inside home for water stains or discoloration, which can indicate a leaky roof.
- Check for cracks in the ceiling or walls, which may be a sign of structural damage from a compromised roof.
- Professional Assessment:
- If unsure about any potential issues or if significant damage is noticed during inspection, professional help should be sought.
- Hire a qualified roofing contractor who can provide a detailed assessment and recommend necessary repairs or replacements.
Plus, regular roof maintenance can help prolong its lifespan and prevent expensive repairs. This includes cleaning gutters, trimming overhanging branches, and addressing small issues quickly. Maintaining a healthy roof is vital in protecting your home and ensuring its longevity.
Fun fact: According to a 2020 BuildDirect study, regular roof maintenance can increase its lifespan by up to 25%.
Measuring and Calculating the Quantity of Roofing Sheets Needed
Measuring and calculating the amount of roofing sheets needed for a project is a must. Accurately determining the amount can help you avoid material wastage and make the installation process seamless.
To help you, we have a table with columns such as roof area, sheet dimensions, and amount of sheets. Just input the correct measurements into these columns and you can calculate the exact number of sheets you need.
To get an accurate number, consider other factors like roof slope, waste factor, and sheet overlap. These vary depending on your project. For this, it’s best to consult an expert or check industry guidelines.
Pro Tip: Include an extra margin for error when measuring and calculating the quantity of sheets. Having extra can save money and time when adjustments are needed during installation.
By following these guidelines and using our table as a reference, you can accurately measure and calculate the quantity of roofing sheets needed for your project. Planning efficiently will make the installation process easier, and minimize material wastage.
Safety Precautions
Maintain a secure work area by removing any debris before beginning installation. Wear proper gear, like gloves, goggles, and sturdy shoes, for safety. When climbing ladders or going to elevated spots, make sure they are well-secured and angled correctly. Try to avoid working on windy or rainy days, due to possible slips on wet surfaces.
It’s important to be aware of other safety considerations as well.
- Make sure all tools used are working and properly grounded.
- Don’t overload the roof structure, because this can cause instability.
Lastly, exercise caution when handling and cutting corrugated roofing material.
To enhance safety even more, consider the following:
- Follow manufacturer instructions for proper handling and installation techniques.
- Talk to other people involved in the project to avoid collisions.
- Check equipment used regularly for any signs of wear or damage. Fix or change damaged parts immediately.
- Watch out for potential hazards and take action. This includes dealing with loose materials that could cause tripping.
By following these safety tips, you can ensure a secure environment while installing corrugated roofing. Prioritizing safety not only protects you, but also leads to an efficient installation from start to finish.
Steps for Installing Corrugated Roofing
To ensure a successful installation of corrugated roofing, follow these steps to expertly handle each stage. Clean the roof surface, apply underlayment, cut and fit the first roofing sheet, install the remaining roofing sheets, and secure them in place. By executing these tasks meticulously, your corrugated roofing will be installed seamlessly.
Cleaning the Roof Surface
- Remove debris: Sweep away any leaves, branches, or dirt with a broom or brush. This keeps moisture and damage away.
- Use a pressure washer: Go from the top to the bottom with the right pressure setting.
- Apply a cleaning solution: Use a soft-bristle brush or sponge to scrub off tougher stains. Follow the manufacturer’s instructions.
- Rinse and dry: Hose off the surface with clean water. No cleaning solution or residue must remain. Let it dry before installation.
- Safety first: Check for any damage or leaks. Follow safety precautions when working at heights. Professional help for tricky issues.
- My neighbor’s experience: A few years ago, my neighbor skipped the cleaning step before installing corrugated roofing. This caused serious leakage issues and a costly reinstallation. Cleaning the roof is essential for successful roofing and durability. Take your time and enjoy a well-maintained roof!
Applying Underlayment
- Clean the roof surface.
- Remove all dirt and debris.
- Roll the underlayment in horizontal, overlapping rows.
- Secure with nails or staples.
- Trim the excess material with a utility knife.
- Examine for wrinkles or bubbles.
- Remember to factor climate, slope, and local building codes when choosing the right type of underlayment.
A neighbor of mine neglected to properly apply underlayment.
This resulted in water damage after a rainstorm.
It’s a reminder of how important it is to follow correct installation methods.
Cutting and Fitting the First Roofing Sheet
For a successful roofing project, precision and care are a must. Here are the steps to follow:
- Measurements: Measure the length and width of the roof, considering overhangs. This will help pick the right size for the sheet.
- Cutting: Use a sharp utility knife or snips to make neat, straight cuts.
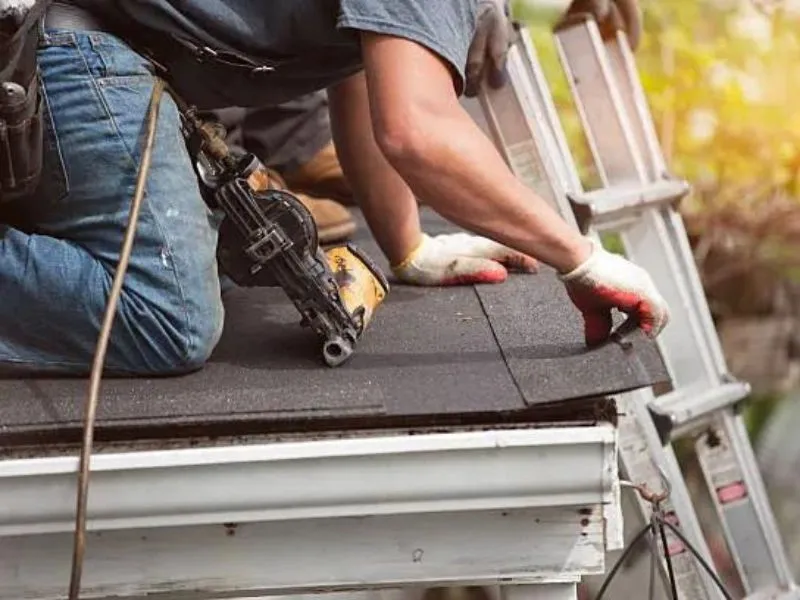
- Fitting: Place the sheet at one end of the roof and secure it with screws or nails, going through both the sheet and support.
- Overlap: For corrugated sheets, overlap each successive sheet by at least one corrugation. This keeps water out.
Remember to wear safety gear such as gloves and goggles. A straight edge or guide helps make precise cuts.
By understanding the principles behind these steps, you can cut and fit the first sheet flawlessly. This ensures optimal water resistance and longevity of your roof.
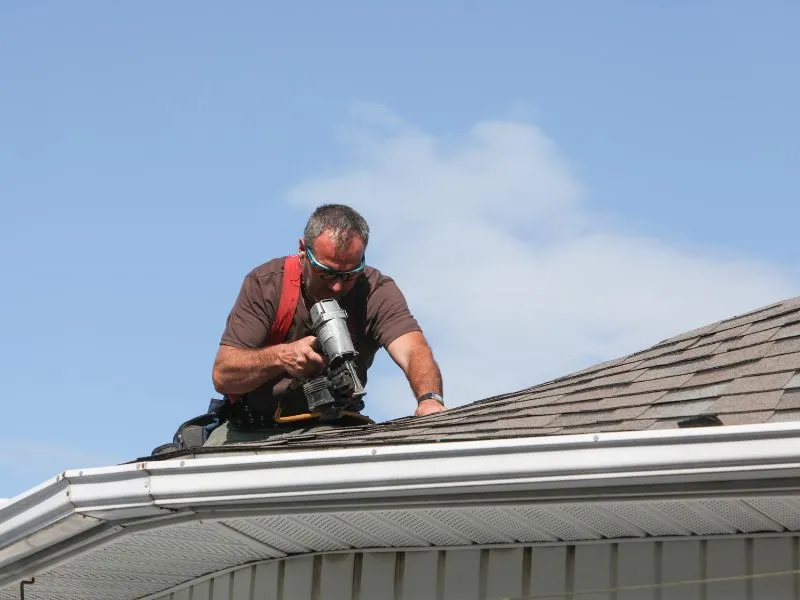
Installing the Remaining Roofing Sheets
Now you’re ready for the next step: installing the rest of the roofing sheets. Here’s how:
- Measure and cut. Use a measuring tape and mark the sheets with a pencil or marker. Cut them to size with a circular saw or tin snips.
- Pre-drill holes. Do this at each marked location on the ridges of the sheet. This will make it easier to fasten them securely.
- Position and fasten. Align the sheet with the one already installed, having an overlap of at least one corrugation. Insert screws through the pre-drilled hole, from one end to the other. Repeat this for all sheets.
- Seal gaps. Use a caulking gun to seal any gaps between overlapping sheets or along their edges. This will stop leaks and make it more durable.
- Trim excess. Use metal shears or a circular saw to trim any overhanging parts beyond the roofline.
- Quality check. Make sure all sheets are properly aligned and attached. Check for any loose screws or gaps.
These steps are key to a successful roofing project. Pay attention to details: measurements, alignment, fastening, sealing, and trimming, to make sure the roof is sturdy.
Install your corrugated roofing today and stay safe!
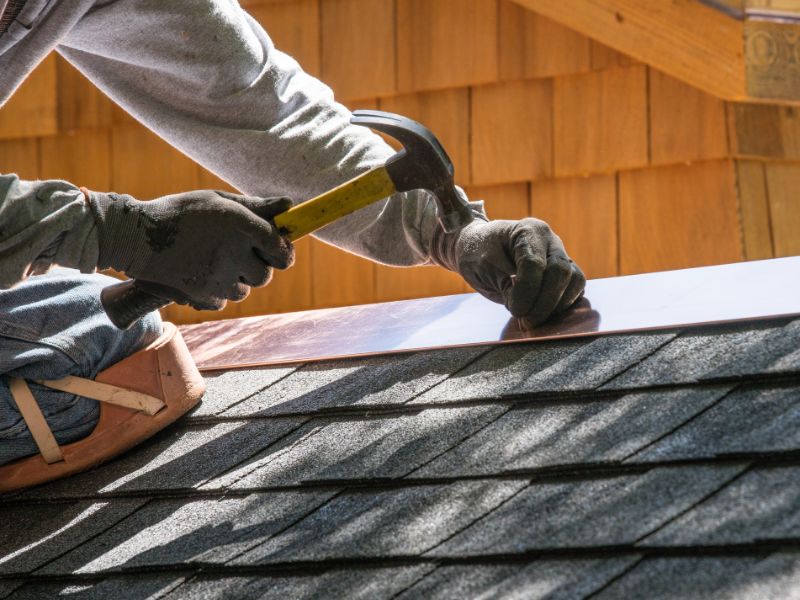
Securing the Sheets in Place
When installing corrugated roofing, firmly attaching the sheets is absolutely vital. To ensure a safe and long-lasting roof, these steps must be followed:
- Begin by lining up the first sheet with the edge of the roof. Use screws with rubber washers. Be sure to put each screw through a corrugation for extra security.
- Keep going by overlapping each sheet with the last one. This overlap should be at least one corrugation deep. Again, use screws with rubber washers.
- To add extra strength and stability, apply roofing cement along the edges of each sheet. This will seal any spaces and stop water from getting in.
- Once all sheets are properly attached, use tin snips or a circular saw to trim off any excess material. This will give the roof a neat, professional finish.
Other aspects must be taken into account too, such as weather conditions and building codes. Always read the manufacturer guidelines for the best results.
This technique of securing corrugated roofing goes back to ancient times. People used materials like reeds or thatch for their roofs. Nowadays, we have more advanced materials and methods, but the purpose is still the same – keeping our buildings protected from the elements.
Finishing Touches
To add the perfect finishing touches to your corrugated roofing installation, utilize the following solutions: Installing Flashing and Ridge Caps, Sealing Joints and Screw Holes. These crucial steps will ensure the durability and longevity of your roofing system, safeguarding your property from leaks and other potential issues.
Installing Flashing and Ridge Caps
To secure a watertight roof, flashing and ridge caps must be installed properly. These finishing touches protect from leaks and give your roof a longer life. Here is a step-by-step guide:
- Start with the edges. Measure and cut the material for each edge. Secure with roofing nails or screws. Overlap with shingles.
- Move to the ridge caps. Set the first cap at one end of the ridge. Use nails or screws to hold it in place. Cover both sides of the ridge.
- Keep installing caps along the length of the ridge. Overlap each one with the last. This design stops water from breaking through.
- Once finished, use nails or screws to add extra strength. This helps withstand high winds.
Additional tip: Seal gaps or spaces between flashing and ridge caps with roofing cement or caulk made for outdoor use. This keeps water out and keeps a tight seal.
Pro Tip: Check the flashing and ridge caps often for damage or wear. Replace any parts that need it to keep your roof’s integrity and make it last.
Sealing Joints and Screw Holes
- Clean the surface first. Remove any dirt, dust or debris that could stop the sealant from sticking.
- Choose the right sealant for the material and location. Consider flexibility, durability and waterproofing.
- Use a caulking gun or applicator to apply the sealant into the joints or screw holes. Make sure it is spread out evenly.
- After applying the sealant, use a damp cloth or gloves-protected finger to make it smooth.
- Different surfaces may need different techniques. Professional guidance is recommended if unsure or when dealing with intricate joint configurations.
- Spend time on each step. Rushing can lead to moisture penetration and weaken the structure.
- Put these tips into action and get professional-grade finishes. Enjoy long-lasting durability and an aesthetically pleasing look.
Conclusion
Installing corrugated roofing requires accuracy. Make sure to measure and prepare the surface for a snug fit. Follow manufacturer guidelines for an effective installation. Use top-notch materials and tools for a neat look and better protection.
Moreover, inspect for any damage regularly. Address these issues as soon as possible. Also, professional help is recommended if there’s any doubt. By doing these, you’ll get a long-lasting roof that will protect your property!
Frequently Asked Questions
Q: What materials do I need to install corrugated roofing?
A: To install corrugated roofing, you will need corrugated roofing sheets, roofing screws, a drill, a screwdriver, a tape measure, a saw or metal shears, and a ladder.
Q: How do I prepare the roof before installing corrugated roofing?
A: First, ensure that the roof surface is clean and free of any debris. Remove any old roofing material or damaged shingles. Make sure the roof is dry and free of any moisture. Install a layer of underlayment to provide additional protection against leaks.
Q: How do I measure and cut corrugated roofing sheets?
A: Measure the width and length of the roof and subtract the overhang you desire. Use a tape measure to mark the dimensions on the corrugated sheet. Use a saw or metal shears to cut the sheets along the marked lines.
Q: What is the recommended installation method for corrugated roofing?
A: Start by installing the first sheet along the bottom edge of the roof with the corrugations running vertically. Use roofing screws to secure the sheet to the roof, placing them in the valleys. Place screws approximately 12 inches apart along the edges and every 24 inches in the center of the sheet.
Q: How do I overlap corrugated roofing sheets?
A: When installing the next sheet, make sure it overlaps the previous sheet by one corrugation. This allows for proper drainage of water and prevents leaks. Secure the overlapping area with roofing screws.
Q: How do I finish the installation of corrugated roofing?
A: Once all the sheets are installed, trim any excess overhang using a saw or metal shears. Install flashing along the edges to seal off any gaps and prevent water penetration. Inspect the installation for any loose screws or gaps and make necessary adjustments.